
Installation
1. A directory with three files
Create a directory for the instance, for example /volume2/docker/hiwiski, and download three files from the latest GitHub release into it:
| File | For |
|---|---|
docker-compose.yml |
the services |
Caddyfile |
how requests come in |
env.example |
save as .env and fill in |
2. Fill in .env
| Variable | What |
|---|---|
HIWISKI_VERSION |
Only the version, for example 2026.1.0 — the image name is already in the compose file. |
HIWISKI_HOSTNAME |
The machine’s name on the home network. |
HIWISKI_HTTP_PORT, HIWISKI_HTTPS_PORT |
The ports on the machine (see What you need). |
HIWISKI_DB_PASSWORD, HIWISKI_DB_ADMIN_PASSWORD |
Two long random passwords: openssl rand -hex 24. The first is the server’s, the second that of Postgres’s superuser, which only creates the database. |
HIWISKI_TIMEZONE |
The family’s time zone, default Europe/Berlin. |
HIWISKI_BACKUP_DIR |
Where the backups go on the machine, default ./backups next to the compose file. A USB disk or a mounted NAS share is better (→ Backups). |
The database passwords are set once: Postgres takes them when its volume is created. If one is changed in .env afterwards, the server can no longer sign in to the database.
3. Start
docker compose up -d
docker compose ps          # app and postgres "healthy", init "exited (0)"
The first start takes about a minute: the server waits for Postgres and creates the database schema.
4. The setup wizard
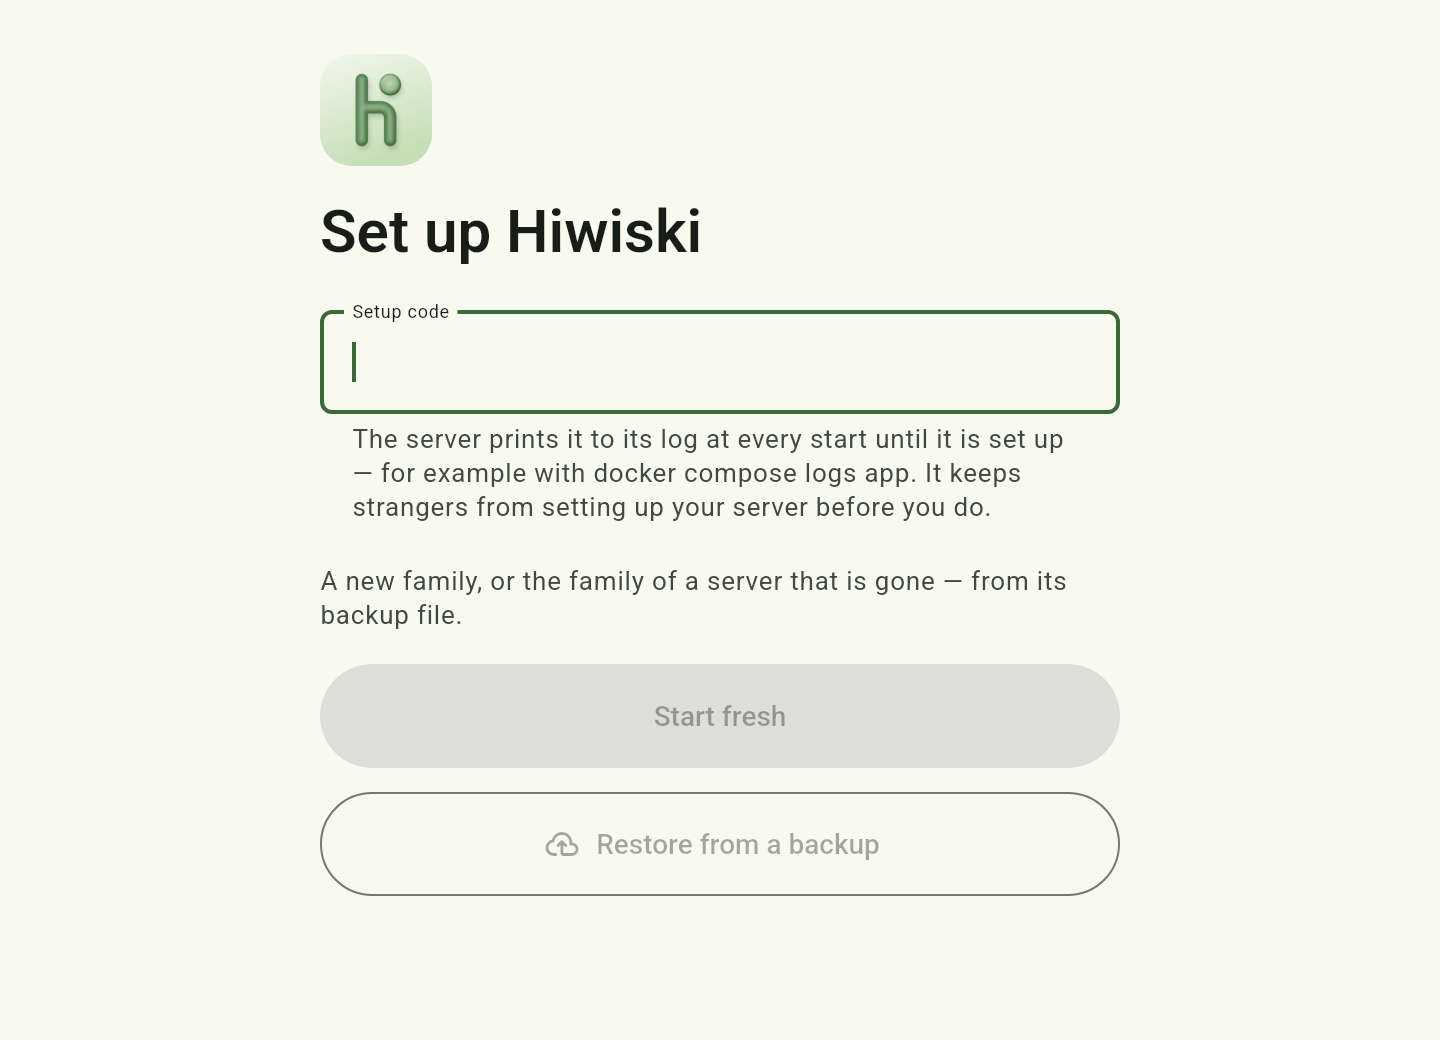
Until the wizard has run, the server prints a setup code to its log at every start. The wizard asks for it, so nobody else can set up your server before you do:
docker compose logs app | grep "Setup code"
# ... WARN ... Setup code: K7M4-2QXP -- the setup wizard asks for it. ...
Open http://<address>:<HIWISKI_HTTP_PORT> in a browser. The wizard asks for the setup code, the family name and the time zone, creates your account as the administrator and creates the first groups, such as “Parents”. The code changes with every restart until the setup is done; take the one from the latest start.
Next: Connecting the apps.